> ## Documentation Index
> Fetch the complete documentation index at: https://help-loyalife.xoxoday.com/llms.txt
> Use this file to discover all available pages before exploring further.
# Manage team
> Invite users, assign roles, manage account status, and create custom permission roles for your Loyalife team.
The Manage Team section gives program administrators control over who has access to Loyalife and what each person can do. It's split into two areas: **Users** and **Roles**.
## Accessing team management
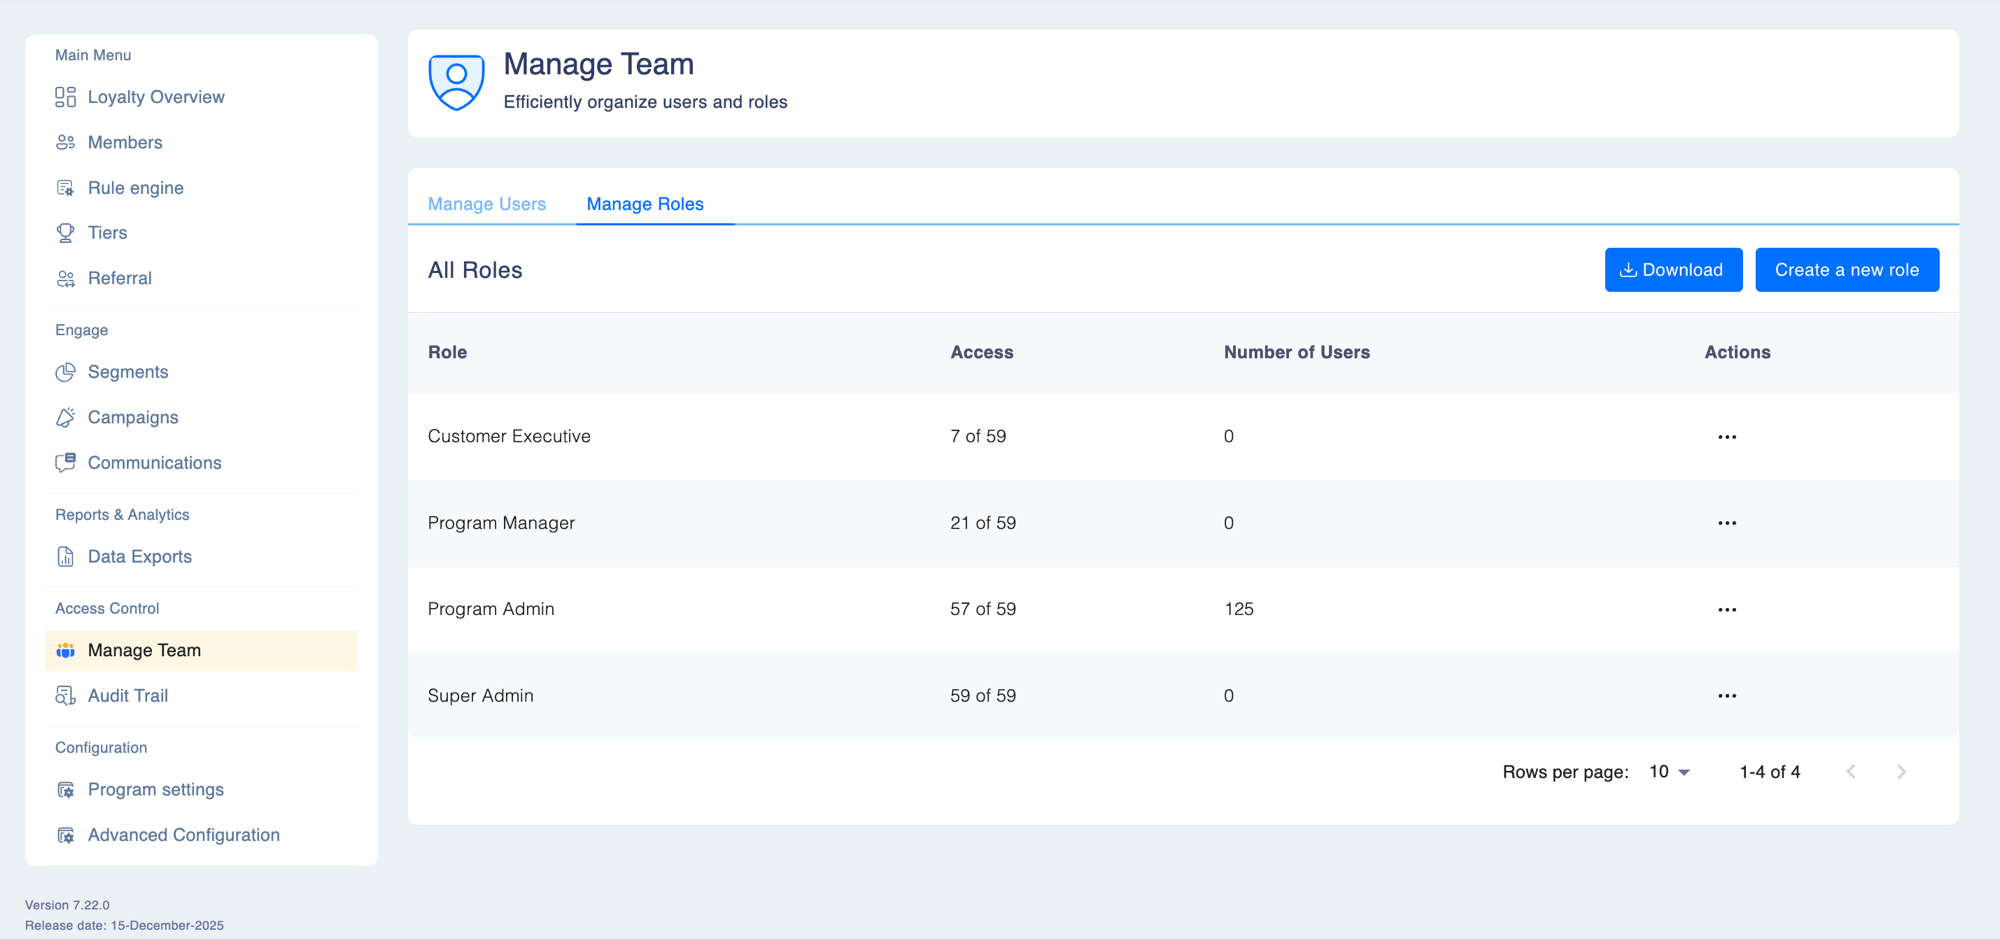
Go to **Access Controls** in the left sidebar. The Users tab is shown by default.
 ## User management
### Inviting a user
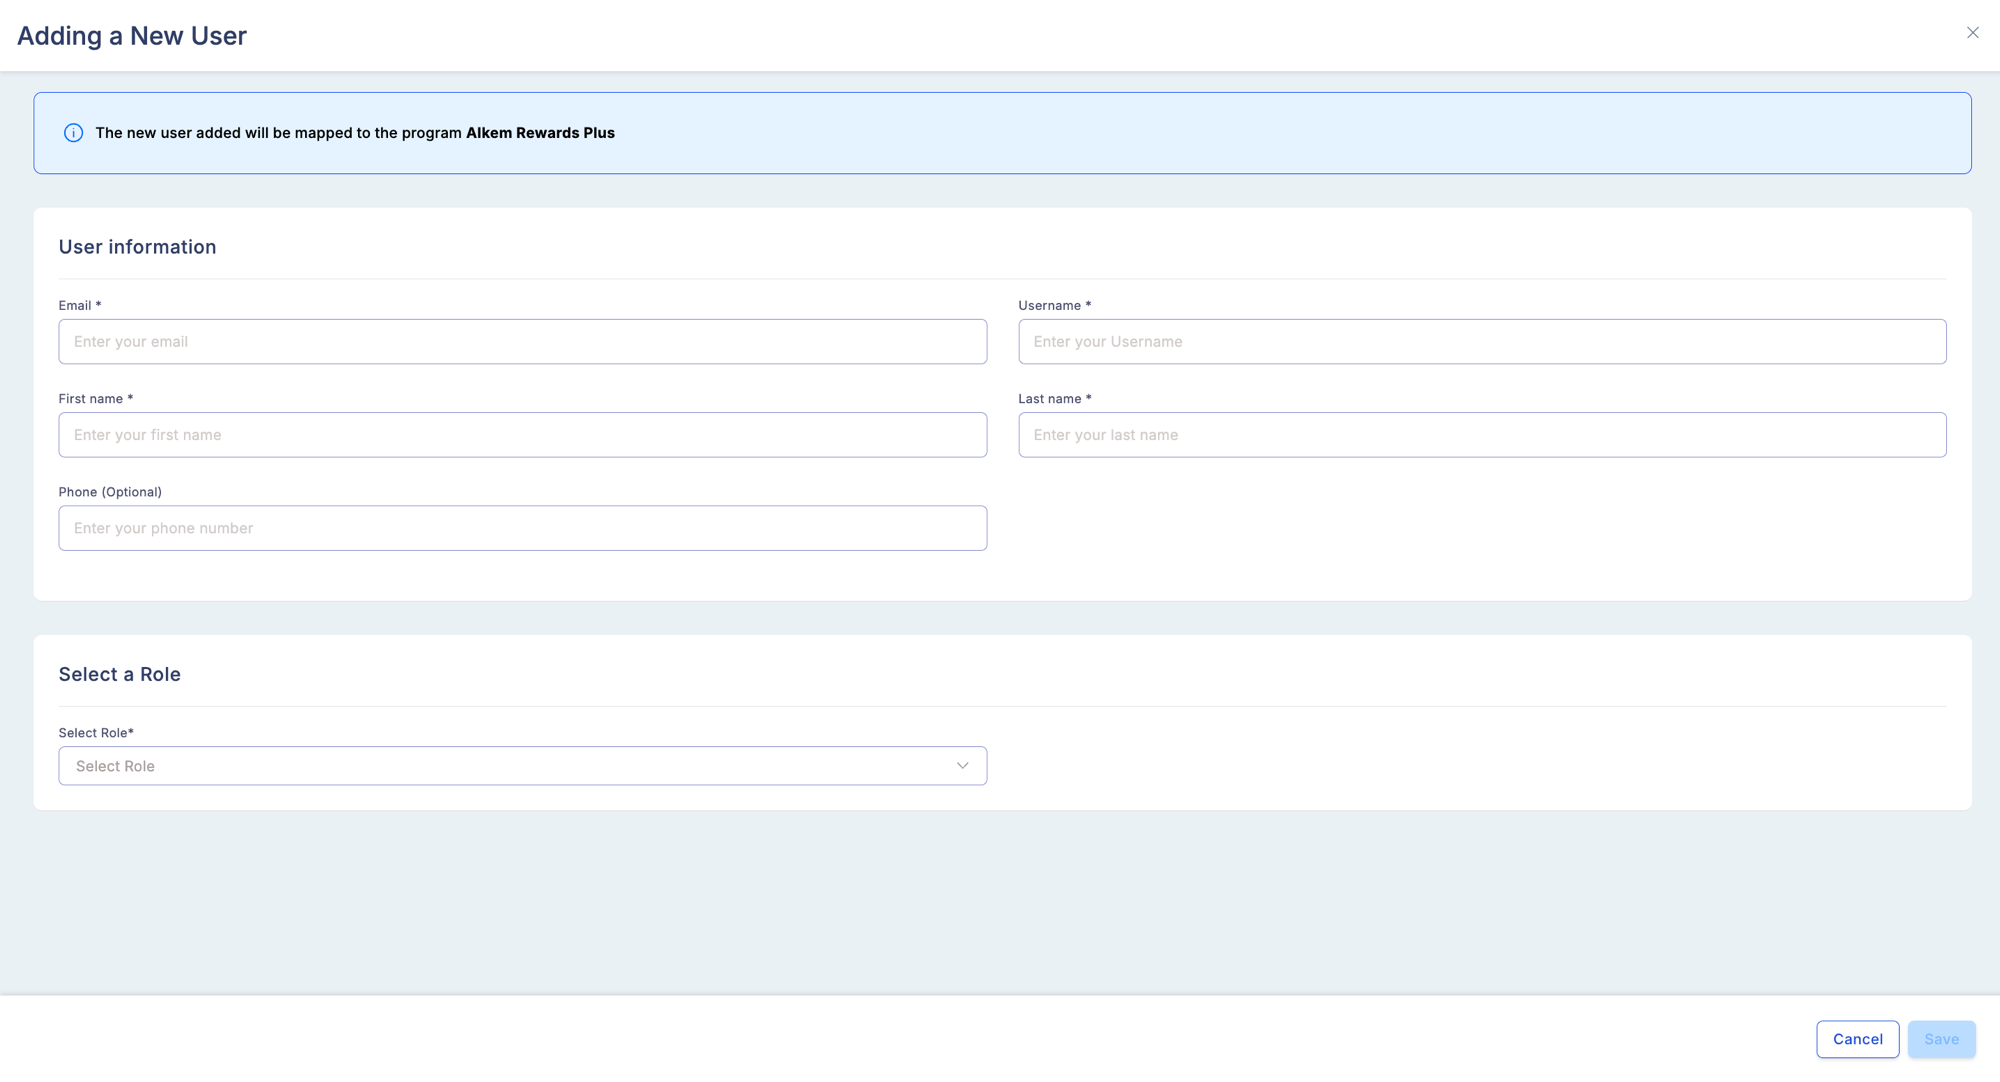
Click **Invite User**.
Provide the user's name and email address.
Select one or more roles for this user. Roles determine which modules they can access and what actions they can take.
The user receives an email invitation with a link to set up their password and activate their account.
## User management
### Inviting a user
Click **Invite User**.
Provide the user's name and email address.
Select one or more roles for this user. Roles determine which modules they can access and what actions they can take.
The user receives an email invitation with a link to set up their password and activate their account.
 ### Managing existing users
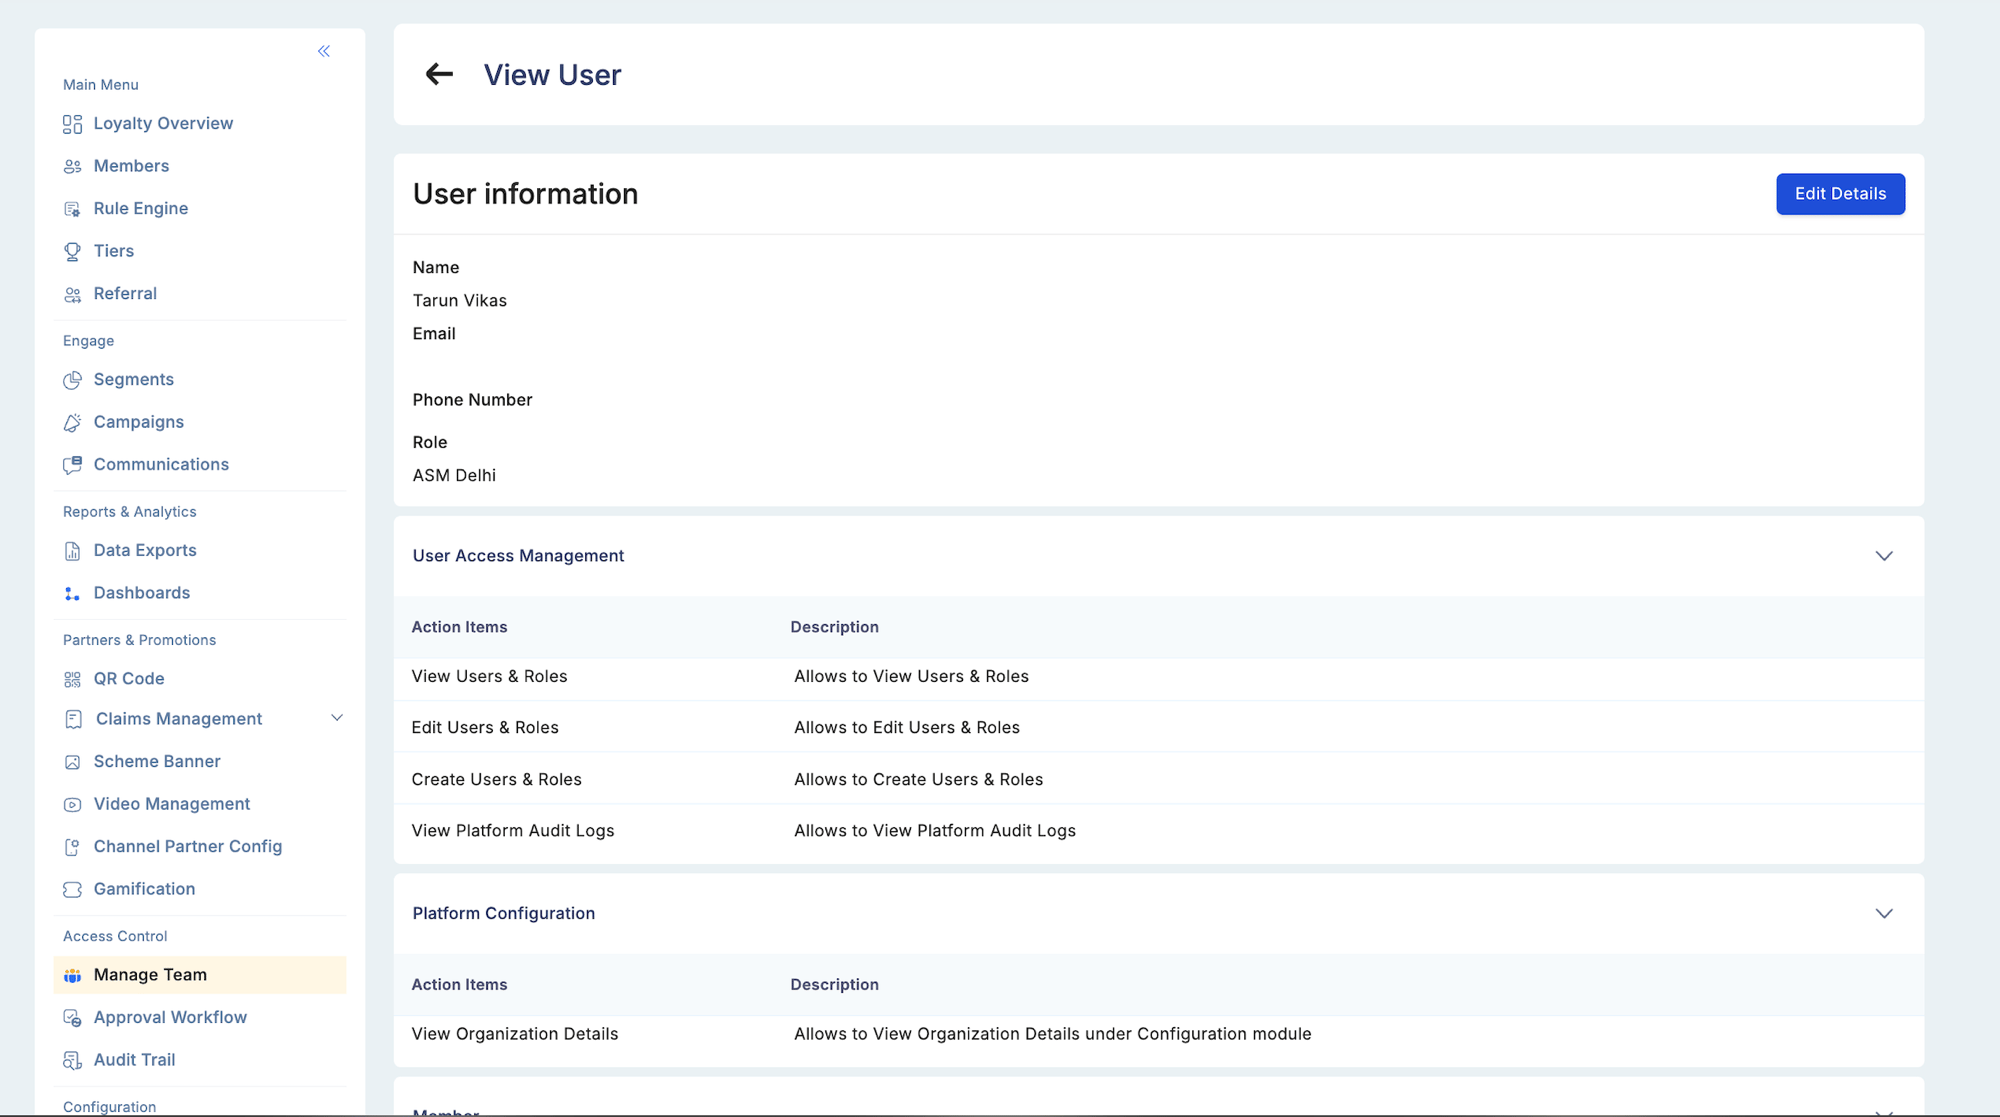
From the Users list, open the three-dot Actions menu on any user to access management options:
| Action | When to use |
| ------------------ | ------------------------------------------------------------------------------ |
| Edit user | Update name, email address, or role assignments |
| Reset password | Trigger a password reset email for a locked-out user |
| Lock account | Temporarily prevent the user from logging in |
| Unlock account | Restore login access to a locked account |
| Archive user | Remove a user who has left the organisation — their audit history is preserved |
| Unarchive user | Reactivate a previously archived user |
| Download user list | Export all users and their role assignments as a CSV |
### Managing existing users
From the Users list, open the three-dot Actions menu on any user to access management options:
| Action | When to use |
| ------------------ | ------------------------------------------------------------------------------ |
| Edit user | Update name, email address, or role assignments |
| Reset password | Trigger a password reset email for a locked-out user |
| Lock account | Temporarily prevent the user from logging in |
| Unlock account | Restore login access to a locked account |
| Archive user | Remove a user who has left the organisation — their audit history is preserved |
| Unarchive user | Reactivate a previously archived user |
| Download user list | Export all users and their role assignments as a CSV |
 ### Reactivating locked or archived users
If an admin tries to invite a user with an email that belongs to a currently locked or archived account, Loyalife detects the duplicate and shows:
> "This email is associated with a locked/archived user. The existing user will be reactivated upon approval."
When the Maker-Checker workflow is enabled, this reactivation request enters the approval queue. The audit trail records:
* At the Maker stage: "Request submitted to unlock/unarchive existing user \[username] for email \[email]"
* At the Checker stage: "User \[username] unlocked" or "User \[username] unarchived"
This prevents confusion with the previous "User created" message, which was misleading because the user already existed.
## Role management
Roles define what a user can see and do. Every module in Loyalife has configurable permissions, and a role is a named bundle of those permissions.
### Viewing roles
Click the **Roles** tab to see all existing roles.
### Reactivating locked or archived users
If an admin tries to invite a user with an email that belongs to a currently locked or archived account, Loyalife detects the duplicate and shows:
> "This email is associated with a locked/archived user. The existing user will be reactivated upon approval."
When the Maker-Checker workflow is enabled, this reactivation request enters the approval queue. The audit trail records:
* At the Maker stage: "Request submitted to unlock/unarchive existing user \[username] for email \[email]"
* At the Checker stage: "User \[username] unlocked" or "User \[username] unarchived"
This prevents confusion with the previous "User created" message, which was misleading because the user already existed.
## Role management
Roles define what a user can see and do. Every module in Loyalife has configurable permissions, and a role is a named bundle of those permissions.
### Viewing roles
Click the **Roles** tab to see all existing roles.
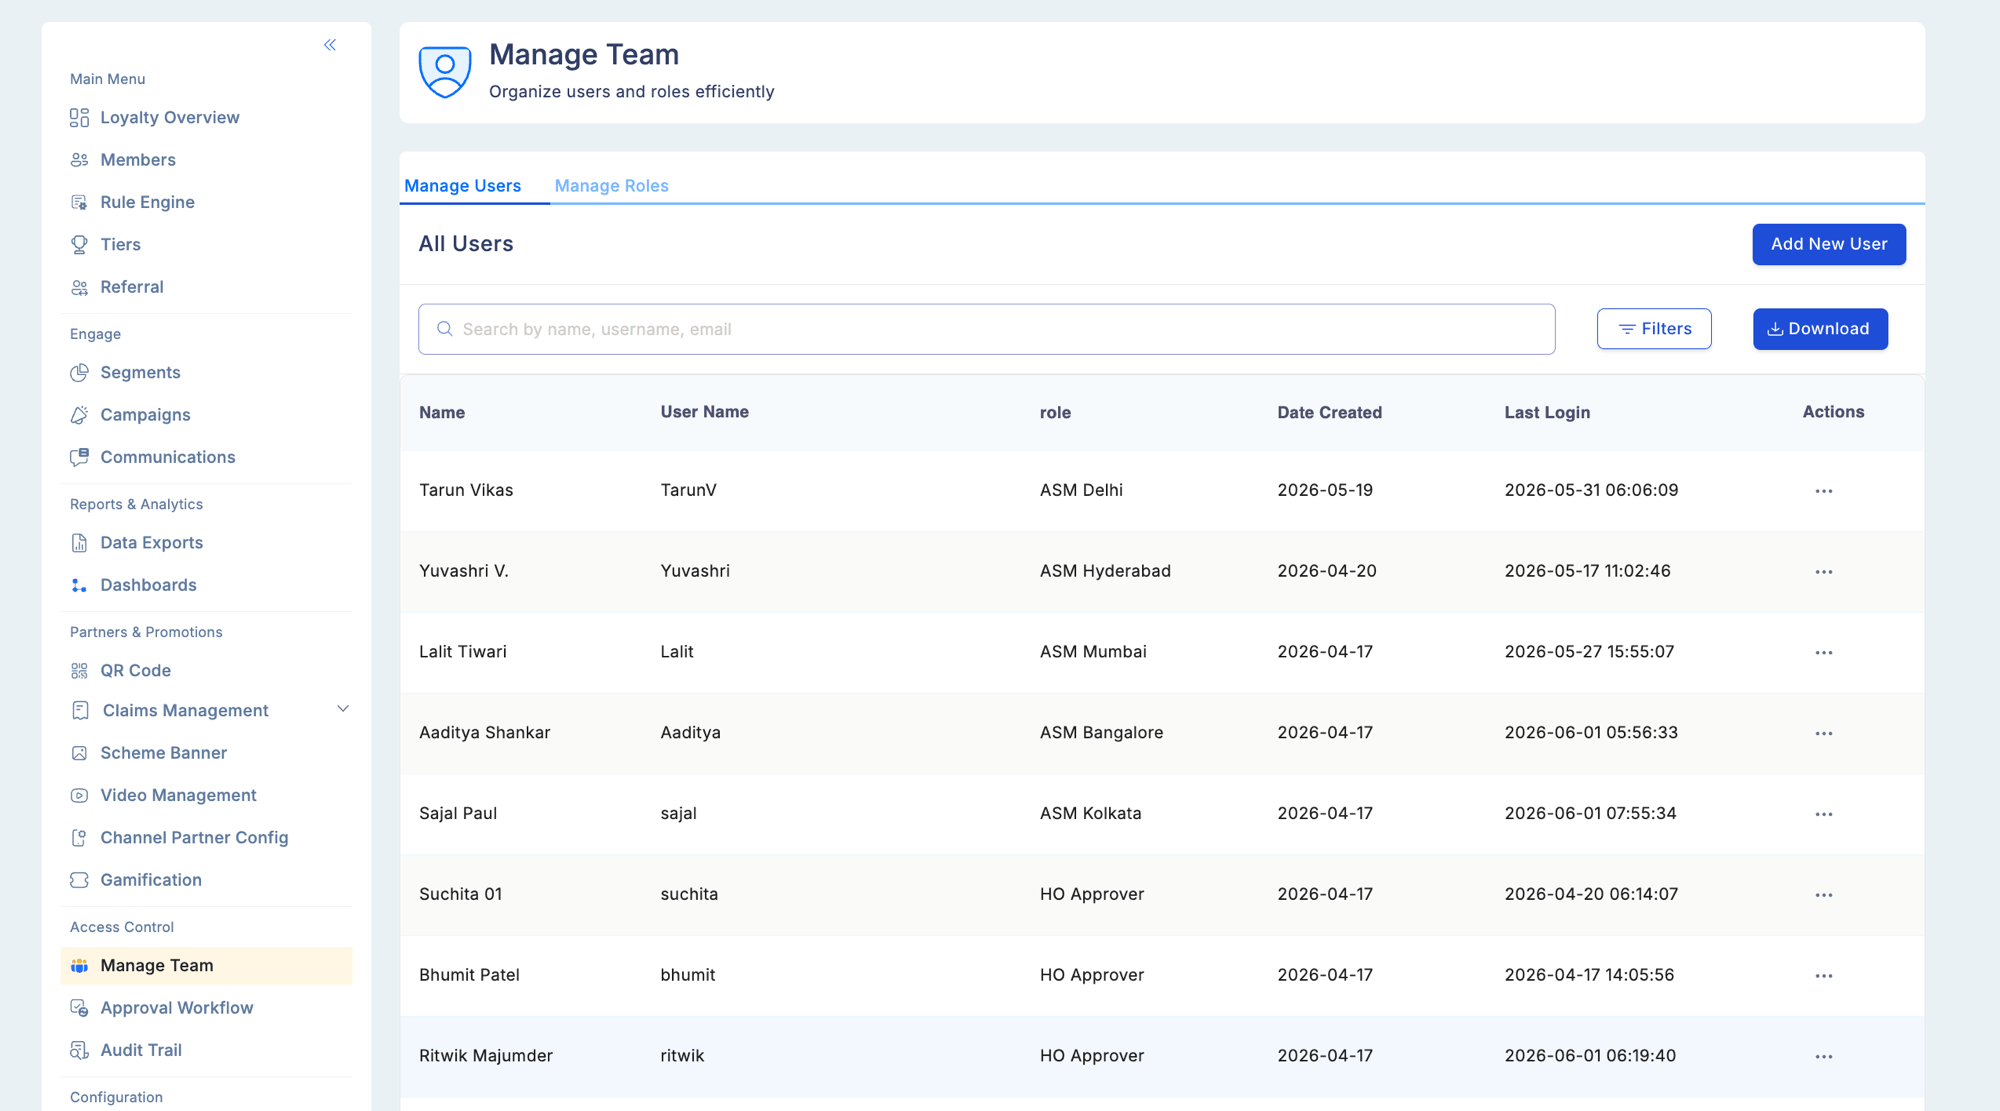 Each role entry shows:
* Which modules it grants access to
* The permission level per module (View, Edit, Create)
* How many users currently hold this role
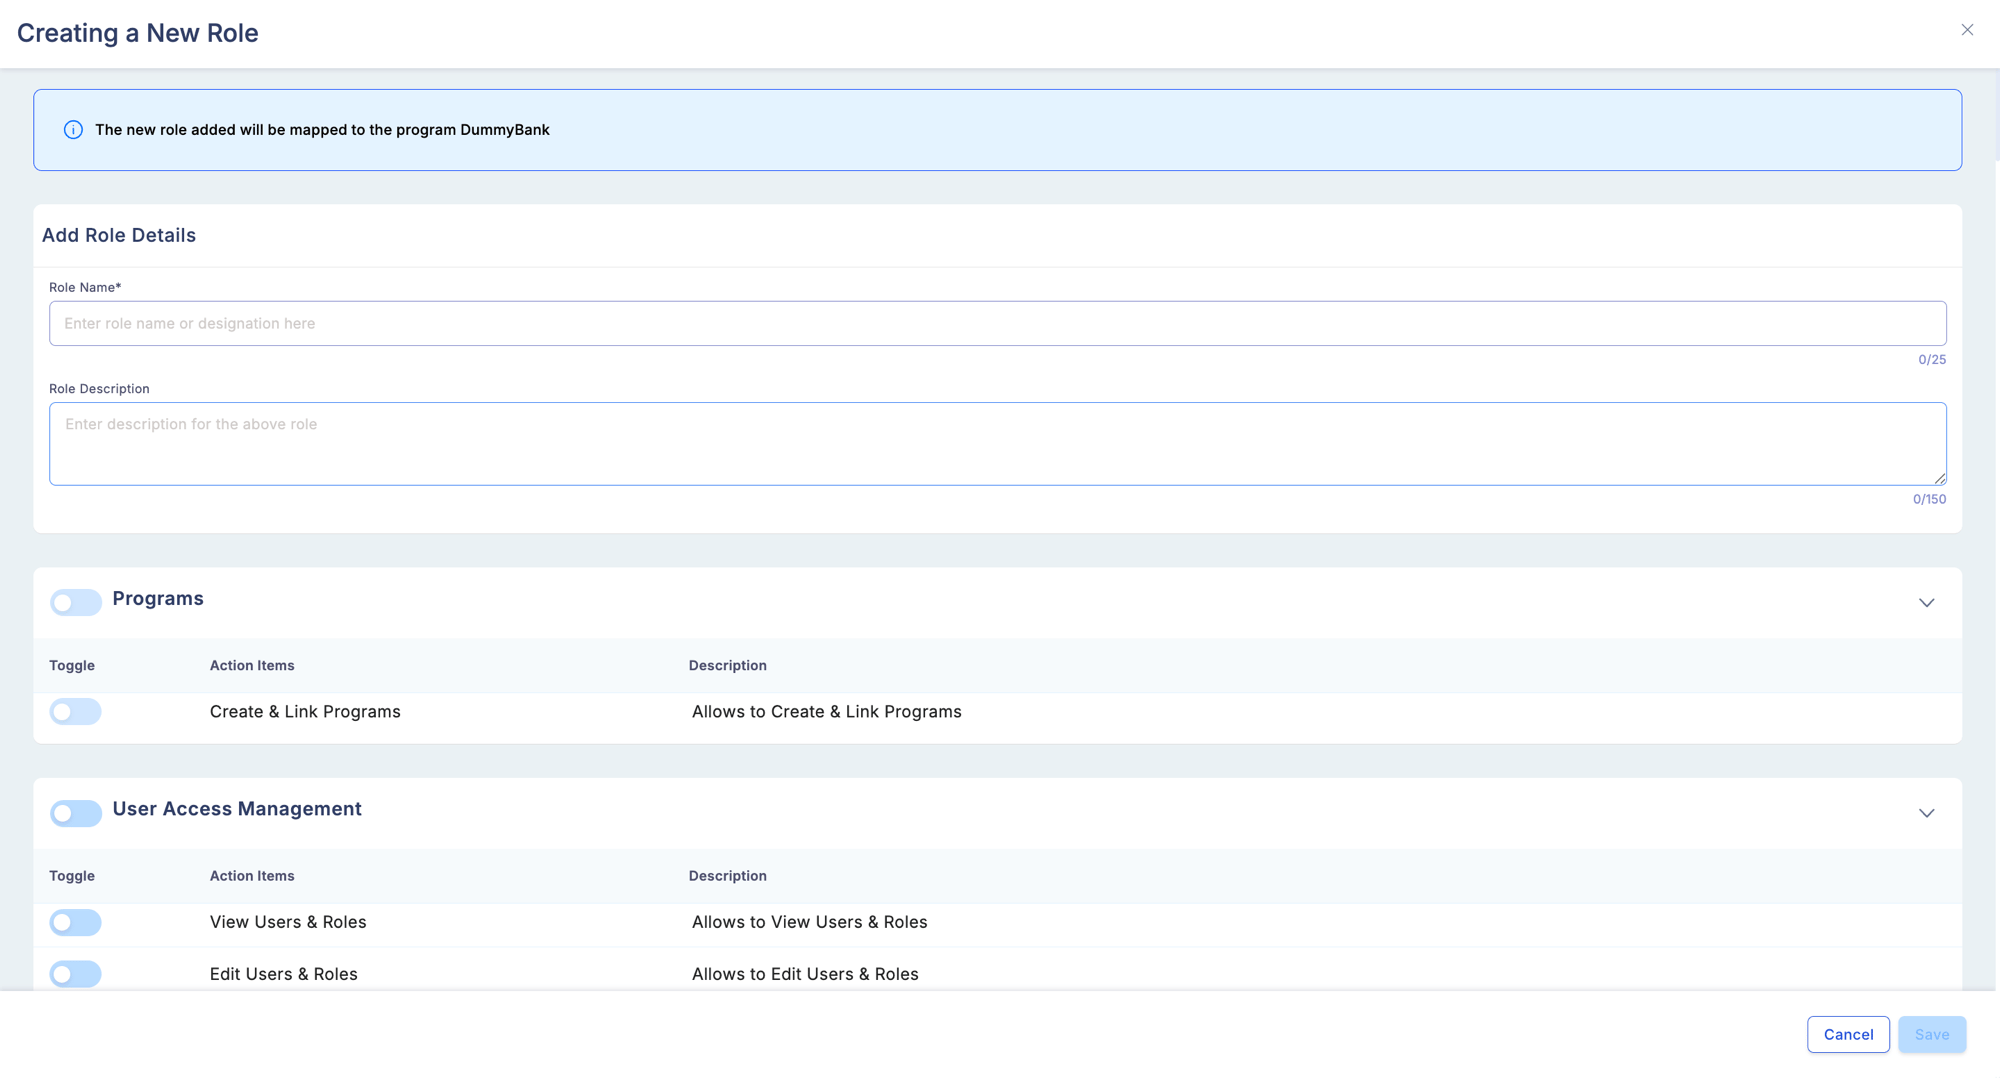
### Creating a custom role
From the Roles tab, click **Create Role**.
Give the role a descriptive name that reflects its function — for example, "Claims Approver" or "Campaign Manager — View Only".
For each module, select the permission level:
| Level | Grants |
| ------ | ---------------------------------------------- |
| None | No access — module is not visible to this role |
| View | Read-only access |
| Edit | Can modify existing records |
| Create | Full access including creating and deleting |
Some modules have additional permissions beyond the standard levels. For example:
* **Approve Assigned Invoices** — for Claims approvers
* **Verify Onboarding Requests** and **Approve Onboarding Requests** — for the Maker and Checker in partner onboarding
* **PI Data Access** — for exporting personally identifiable member data
Save the role. It is immediately available for assignment when inviting or editing users.
Each role entry shows:
* Which modules it grants access to
* The permission level per module (View, Edit, Create)
* How many users currently hold this role
### Creating a custom role
From the Roles tab, click **Create Role**.
Give the role a descriptive name that reflects its function — for example, "Claims Approver" or "Campaign Manager — View Only".
For each module, select the permission level:
| Level | Grants |
| ------ | ---------------------------------------------- |
| None | No access — module is not visible to this role |
| View | Read-only access |
| Edit | Can modify existing records |
| Create | Full access including creating and deleting |
Some modules have additional permissions beyond the standard levels. For example:
* **Approve Assigned Invoices** — for Claims approvers
* **Verify Onboarding Requests** and **Approve Onboarding Requests** — for the Maker and Checker in partner onboarding
* **PI Data Access** — for exporting personally identifiable member data
Save the role. It is immediately available for assignment when inviting or editing users.
 The **Create** permission on most modules also grants the ability to delete. Review the specific module's permission details before assigning broad roles.
### Built-in roles
Loyalife includes default roles that cover the most common team structures. These can be used as-is or cloned as a starting point for customisation.
### Downloading role reports
Click **Download** from the Roles tab to export a CSV of all roles and their full permission configurations. Use this for internal access reviews, audit documentation, or onboarding new team members.
## Permissions reference
| Action | Required permission |
| ----------------------- | ------------------- |
| Invite users | Manage Users |
| Edit user roles | Manage Users |
| Lock/unlock accounts | Manage Users |
| Archive/unarchive users | Manage Users |
| Create/edit roles | Manage Roles |
| Download user list | View Users |
The **Create** permission on most modules also grants the ability to delete. Review the specific module's permission details before assigning broad roles.
### Built-in roles
Loyalife includes default roles that cover the most common team structures. These can be used as-is or cloned as a starting point for customisation.
### Downloading role reports
Click **Download** from the Roles tab to export a CSV of all roles and their full permission configurations. Use this for internal access reviews, audit documentation, or onboarding new team members.
## Permissions reference
| Action | Required permission |
| ----------------------- | ------------------- |
| Invite users | Manage Users |
| Edit user roles | Manage Users |
| Lock/unlock accounts | Manage Users |
| Archive/unarchive users | Manage Users |
| Create/edit roles | Manage Roles |
| Download user list | View Users |