What are visibility claims
When a visibility program is active, retailers and merchandisers can submit photo evidence directly from the mobile app.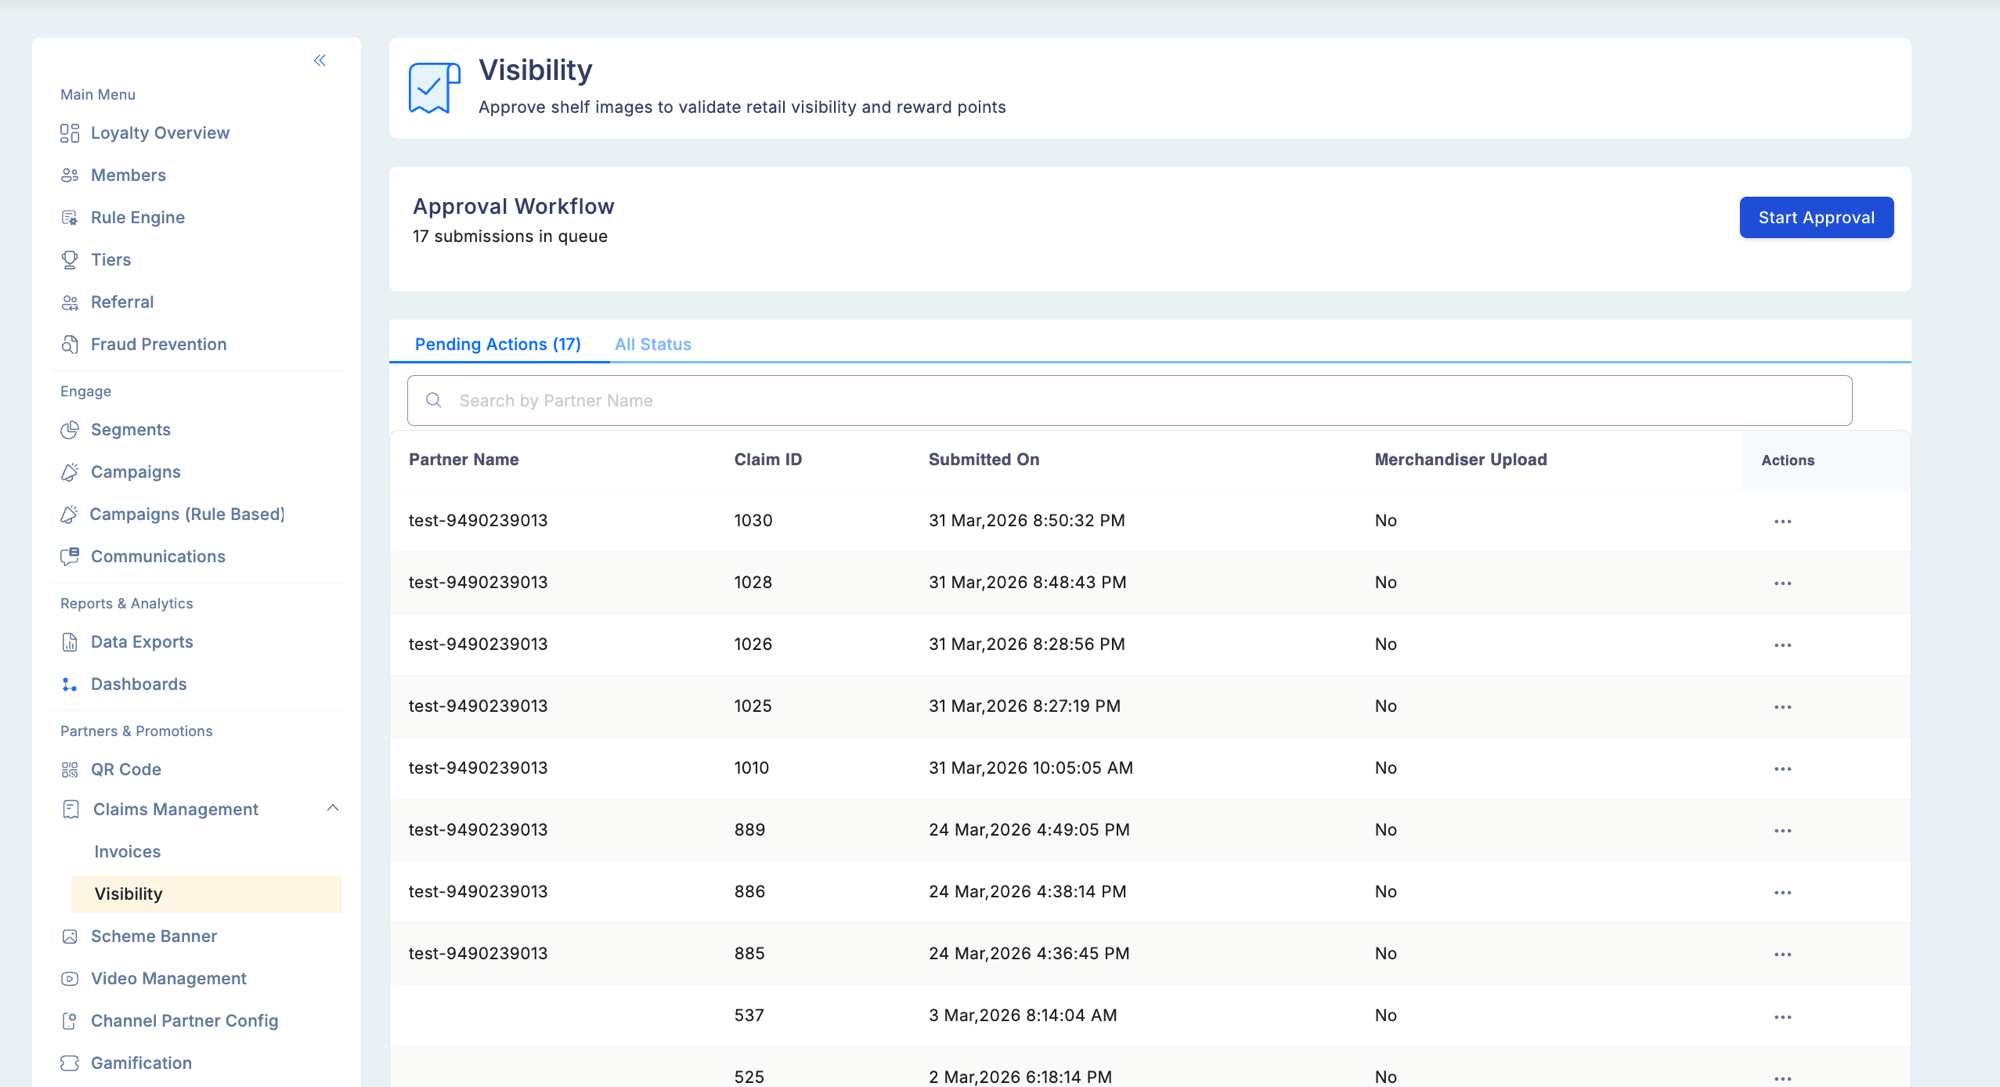

Reviewing a visibility claim
Open a claim to see the full detail view, which is divided into the following sections.Approval workflow header
Shows how many claims are currently in the queue and your position within it. Use this to navigate between claims without returning to the list.Claim details
| Field | Description |
|---|---|
| Claim ID | Unique identifier for this visibility claim |
| Visibility Asset Type | The type of asset the partner was required to display (for example, shelf unit, window banner) |
| Coordinates | Latitude and longitude recorded at the time of upload (read-only; captured automatically by the mobile app) |
Image evidence
Two image slots may be present, either separately or together.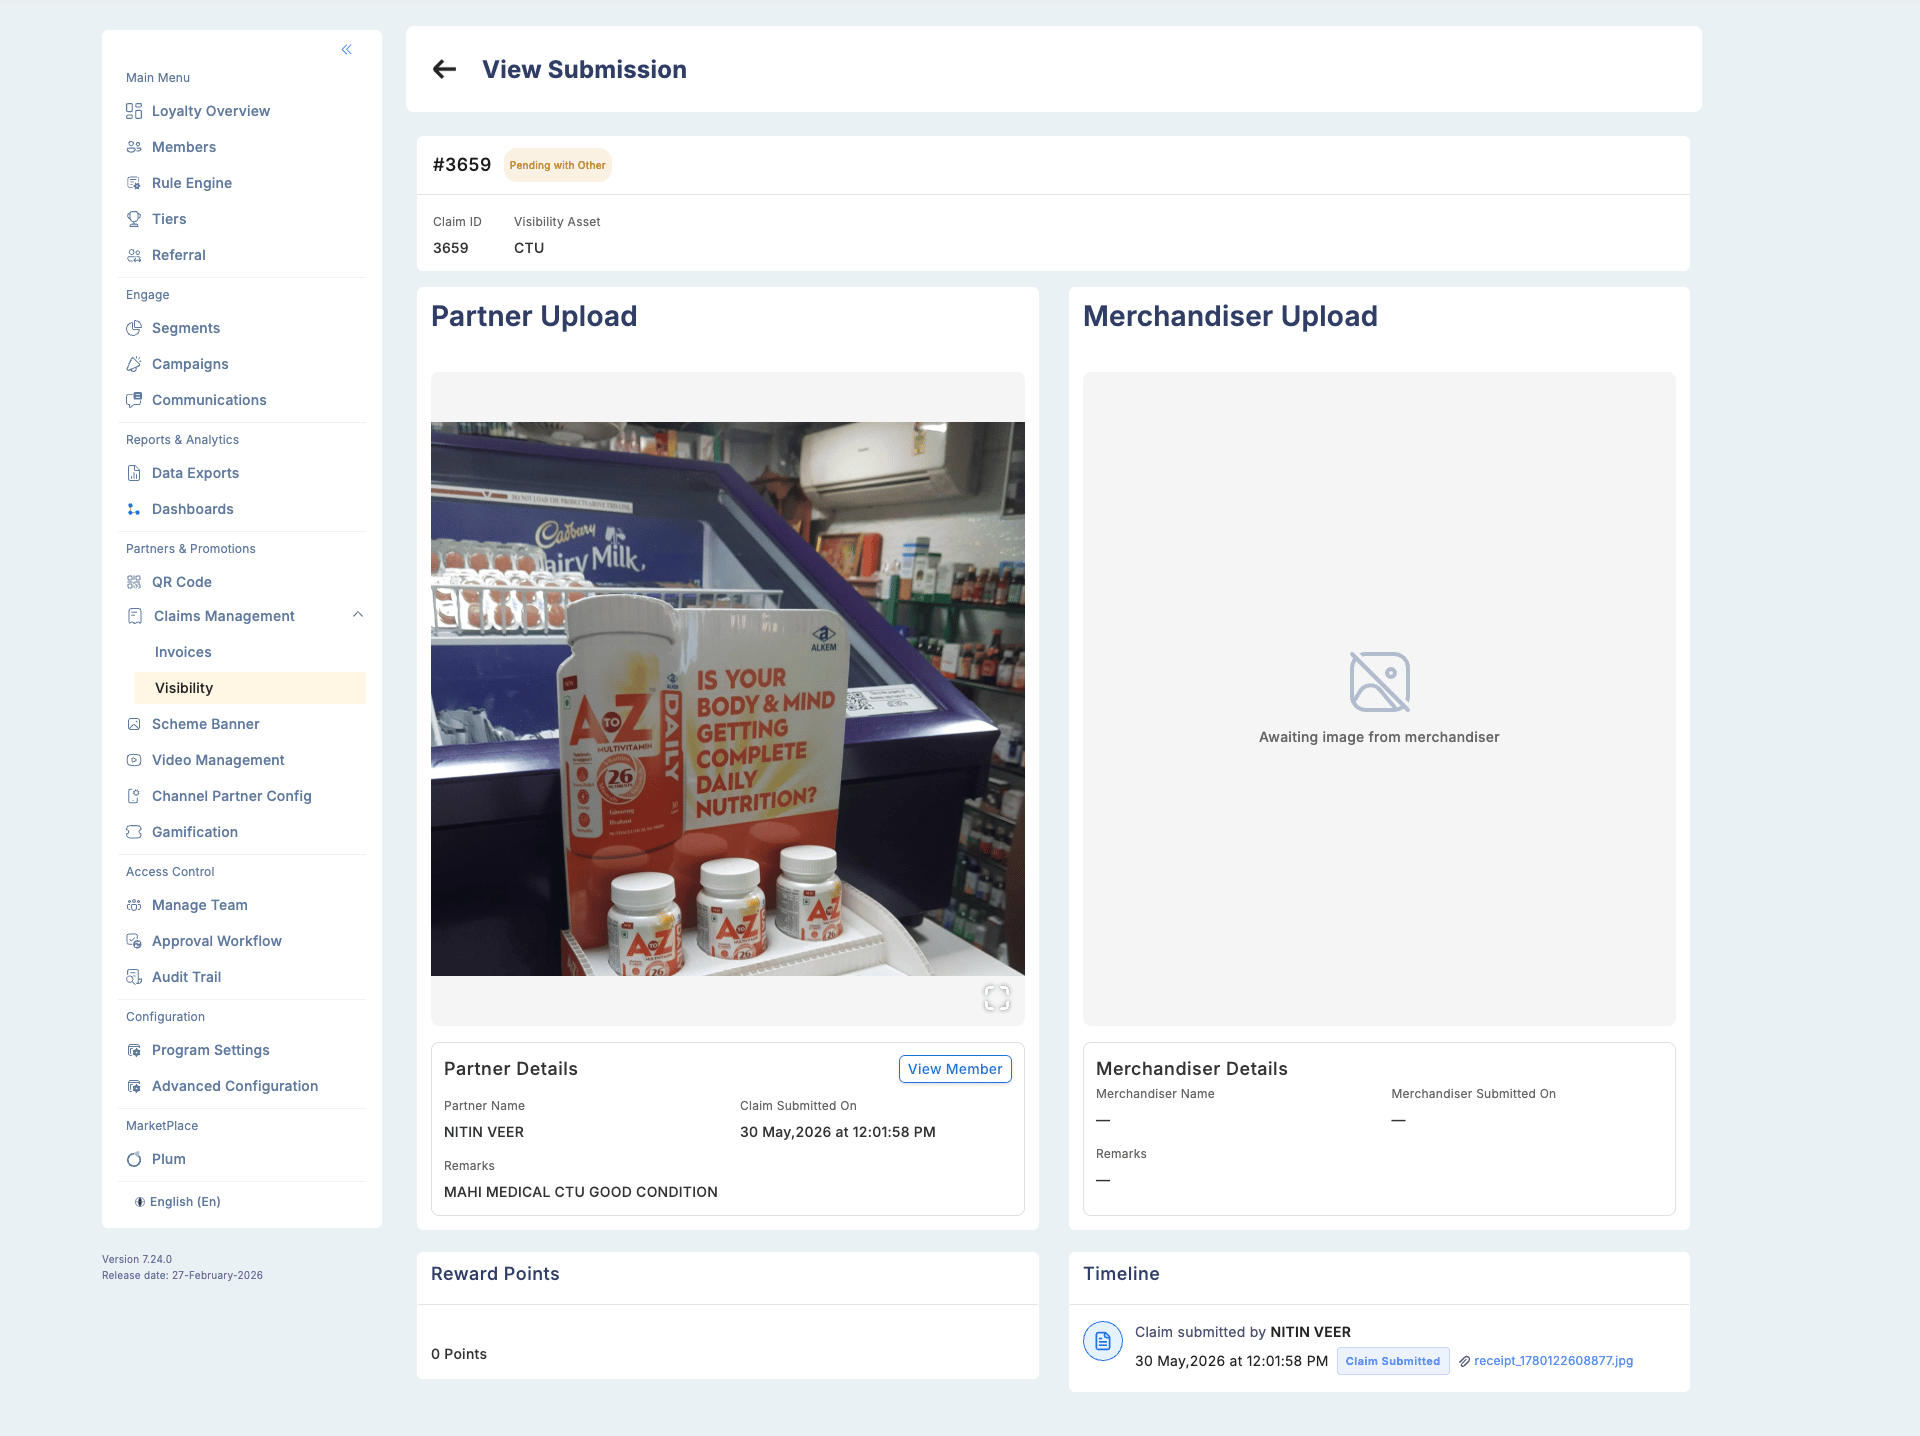
| Slot | Uploaded by | Description |
|---|---|---|
| Partner Upload | Retailer | Photo of the displayed product or banner taken by the store owner |
| Merchandiser Upload | Merchandiser | Photo taken by the merchandiser who set up the display |
Partner details
| Field | Description |
|---|---|
| Name | Partner’s registered name |
| Partner ID | Unique identifier |
| Submitted Date | Date and time the claim was submitted |
| Remarks | Any notes the partner included with the submission |
| View Member | Link to the partner’s full member profile |
Merchandiser details
This section is shown only when a merchandiser image is present on the claim.| Field | Description |
|---|---|
| Name | Merchandiser’s name |
| Merchandiser ID | Unique identifier |
| Submitted Date | Date and time of the merchandiser upload |
| Remarks | Notes added by the merchandiser |
Reward points
Displays the points that will be credited if the claim is approved. This value is read-only and calculated by the system based on the visibility asset configuration.Timeline
A full audit trail of every action taken on this claim, including timestamps and user details. See Timeline and audit trail below.Taking action
Open a pending claim
Go to Partners & Promotions > Claims Management > Visibility and select Pending Actions. You can open a claim from the list or use the Start Approval button in the Approval Workflow section to work through the queue in order. You can also open a claim from the row-level action menu.
Review image evidence and partner details
Examine both the Partner Upload and the Merchandiser Upload (if present). Check the coordinates, submitted date, and any remarks.
Approve or reject
Select the appropriate action:
- Approve — opens a confirmation modal. Enter a mandatory reason (maximum 50 characters) and confirm. Points are credited to the partner immediately. This action cannot be reverted.
- Reject — enter a mandatory reason. No points are credited.
- Exit Workflow — closes the current claim and returns you to the queue without taking any action.
Timeline and audit trail
Every approval and rejection is recorded in the timeline section of the claim, showing the approver’s name, action taken, reason provided, and timestamp. Use the timeline to understand the full history of a claim.Permissions
Access to visibility claims is controlled by two permissions.| Permission | Effect |
|---|---|
| Approve Visibility | Approver can see and act on all visibility claims in the program |
| Approve Assigned Visibility | Approver can only see and act on claims that have been explicitly assigned to them |
At least one of Approve Visibility or Approve Assigned Visibility must be assigned to a user before they can access the visibility claim approval workflow.